Homemade Peanut Butter Cups with Maple Filling
Highlighted under: Simple Baking Recipes
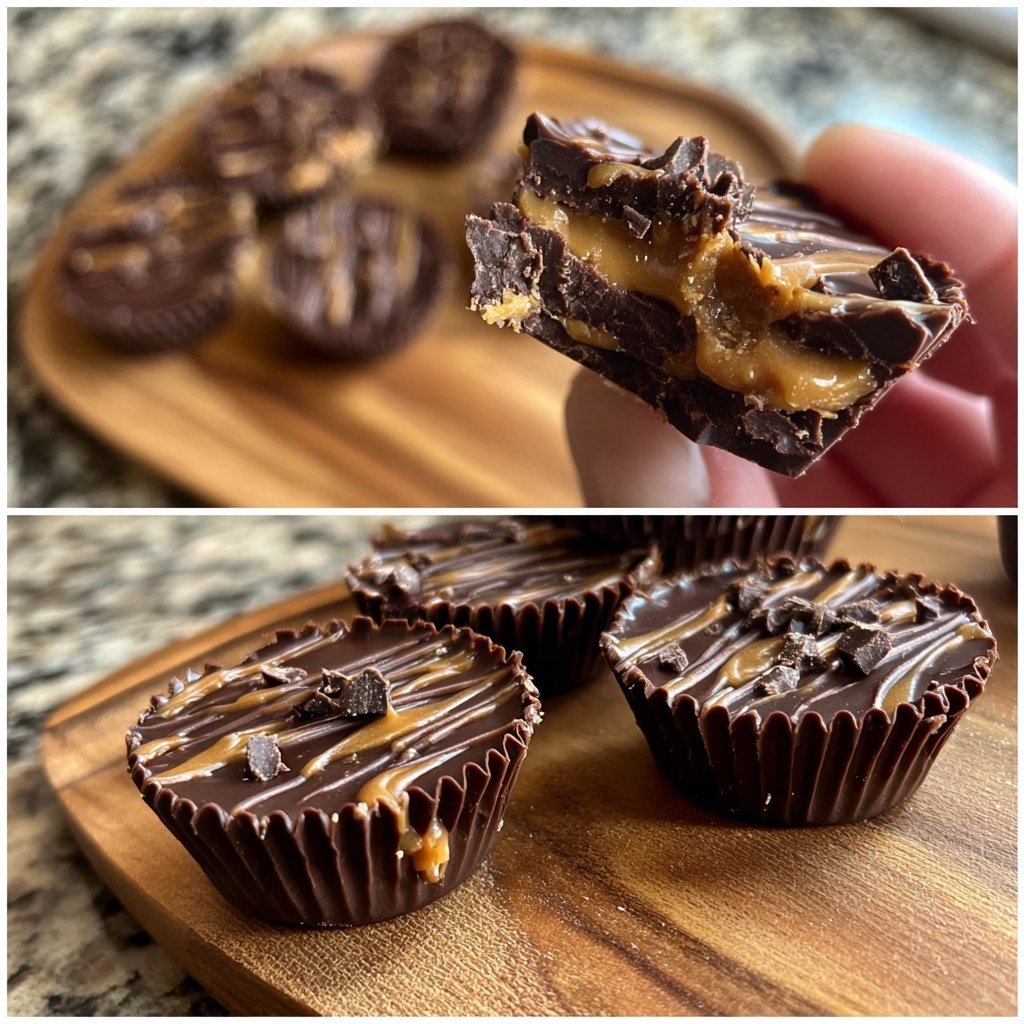
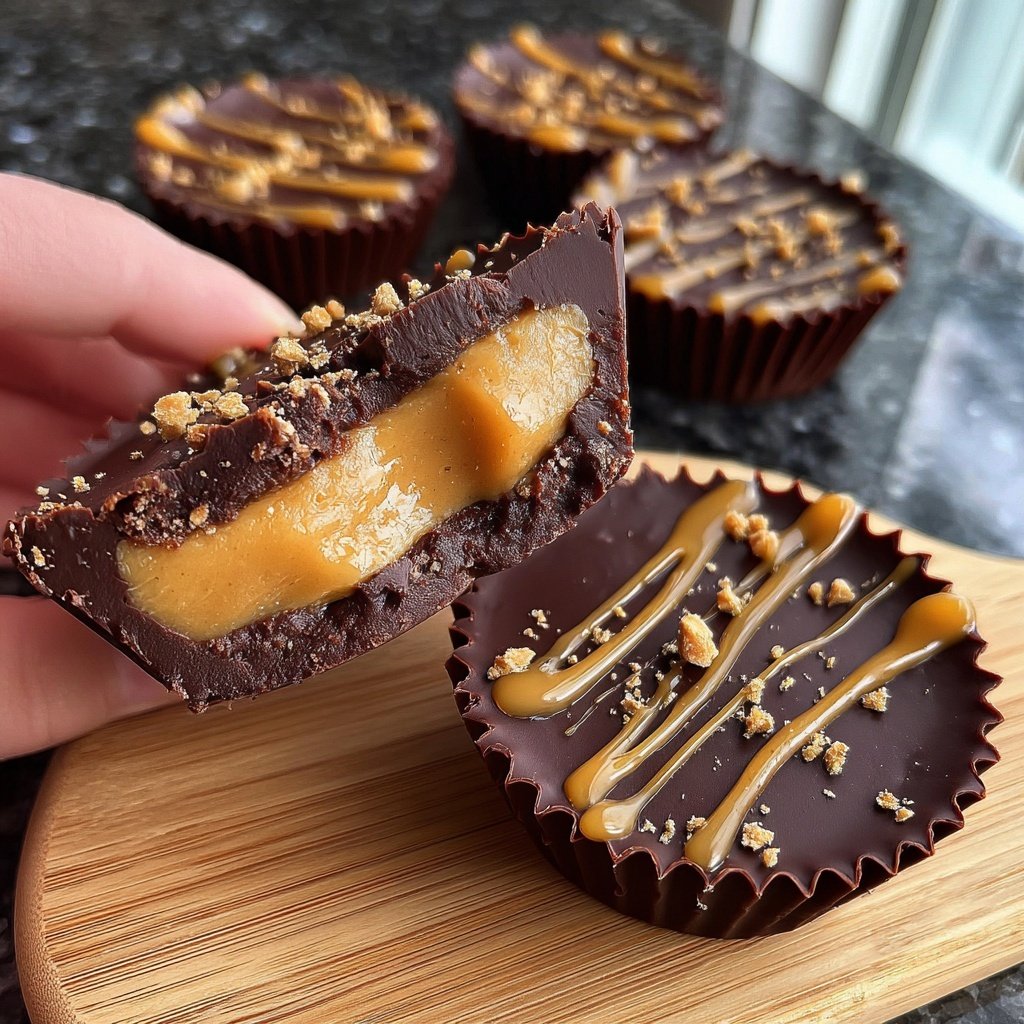
I absolutely love indulging in sweet treats, and these Homemade Peanut Butter Cups with Maple Filling have stolen my heart. The combination of creamy peanut butter and rich maple syrup enveloped in a smooth chocolate coating creates a heavenly bite. Making these at home not only satisfies my sweet cravings but also allows me the joy of creating something delicious from scratch. When I take a bite, I savor the balance of flavors and the nostalgia that comes with indulging in a classic treat made healthier and more personalized.
When I first decided to make my own version of peanut butter cups, I wanted to create something that was both satisfying and simple. After experimenting with different sweeteners, I found that maple syrup provided the perfect balance of sweetness while adding a unique flavor profile that complements the peanut butter beautifully. I also learned that tempering the chocolate correctly keeps it shiny and prevents it from blooming over time.
One of the best tips I can share is to chill the cups in the freezer for a bit after assembling them. This not only helps them set quickly but also ensures that every bite delivers that delightful snap when you bite into the chocolate. Trust me, it’s a small step that makes a big difference in texture!
Why You'll Love These Peanut Butter Cups
- Rich peanut butter flavor enhanced with maple sweetness
- Creamy filling that contrasts perfectly with crisp chocolate
- Simple to make, making them perfect for homemade gifts
The Role of Maple Syrup
Maple syrup not only adds a delightful sweetness to the peanut butter cups but also contributes to their creamy texture. Unlike granulated sugar, maple syrup integrates smoothly with peanut butter, ensuring no graininess in the filling. When you mix maple syrup, it's crucial to blend until fully combined to achieve a uniform consistency. I recommend using pure maple syrup over imitation because the depth of flavor will significantly enhance your final product, while also making it feel more artisanal.
If you want to adjust the sweetness level to personal taste, you can experiment by reducing the amount of maple syrup by one tablespoon, but be cautious not to remove too much or the filling may become too thick. Keep in mind that the flavor profile will shift slightly with less maple, so taste along the way and find the balance that suits your preferences.
Perfecting the Chocolate Coating
The chocolate coating is essential for creating that perfect outer shell. When melting the dark chocolate chips, do so over low heat or in short 30-second bursts in the microwave to prevent overheating, which can lead to a gritty texture. If you notice your chocolate is beginning to thicken or seize, you can stir in a small amount of coconut oil to restore the glossy finish. This technique is particularly handy if you want to maintain a smooth pourable consistency without compromising flavor.
Ensure you cover the peanut butter filling entirely with the melted chocolate to prevent any gaps. This not only enhances the flavor experience when biting into the cup but also protects the filling from air exposure, keeping it fresh longer. For an aesthetic touch, you might want to sprinkle a pinch of sea salt on top before chilling, adding a contrast that elevates the overall flavor profile.
Storage and Make-Ahead Tips
These homemade peanut butter cups can be stored in an airtight container in the refrigerator for up to two weeks, making them an excellent make-ahead treat. To freeze them, place each cup in muffin liners and layer them between parchment paper in a freezer-safe container. This prevents them from sticking together. They can be kept frozen for up to three months, and frozen treats are great for quick snacks when you’re craving something sweet.
When you’re ready to enjoy, simply remove the desired number of cups from the freezer and allow them to thaw in the refrigerator for about 30 minutes before serving. This gentle thawing method helps preserve the texture and flavor of both the chocolate and the peanut butter filling, maintaining that sought-after creamy indulgence.
Ingredients
For the Cups
- 1 cup dark chocolate chips
- 1/2 cup creamy peanut butter
- 1/4 cup maple syrup
- 1/4 cup powdered sugar
- 1/2 teaspoon vanilla extract
Make sure all your ingredients are at room temperature for best results!
Instructions
Melt the Chocolate
In a microwave-safe bowl, melt the dark chocolate chips in 30-second intervals, stirring in between until smooth.
Prepare the Molds
Line a muffin tin with paper liners. Pour about 1 tablespoon of melted chocolate into each liner and spread it across the bottom and slightly up the sides.
Make the Peanut Butter Filling
In a mixing bowl, combine peanut butter, maple syrup, powdered sugar, and vanilla extract. Mix until smooth.
Assemble the Cups
Spoon about 1 tablespoon of the peanut butter mixture into the center of each chocolate-lined cup, then top with remaining melted chocolate to cover completely.
Chill and Set
Place the muffin tin in the freezer for about 20 minutes or until the chocolate is fully set. Once set, remove from the liners.
Enjoy your delightful homemade treats!
Pro Tips
- For a twist, you can experiment by adding a pinch of sea salt on top before chilling them or using white chocolate for the coating.
Variations You Can Try
Feel free to switch up the nut butter in the filling. Almond butter or cashew butter can serve as fantastic alternatives that bring their unique flavors to the mix. Just ensure that whichever nut butter you choose is smooth and creamy to maintain that delightful filling consistency. Each variation transforms the character of the cups, imparting a new spin to this classic treat.
You could also experiment with flavors by mixing in a pinch of cinnamon or a drop of espresso powder to the peanut butter filling for a subtle twist. This addition can complement the chocolate beautifully, creating layers of flavor that surprise the palate. Remember to mix thoroughly to ensure that any added spices are well incorporated.
Gift Ideas with a Personal Touch
If you're considering giving these delicious cups as a gift, packaging is key. Using decorative muffin liners and a cute box can elevate the homemade gift appeal. Consider adding a personal touch by attaching a handwritten note with serving instructions, ensuring your friends can enjoy them at their best.
You might also consider making a mixed batch with variations like adding chopped nuts, coconut flakes, or dried fruit on top before the chocolate sets. This not only enhances the experience but makes for an eye-catching edible gift. A variety pack can make the most of your time in the kitchen and be a delightful surprise for the recipient.
Questions About Recipes
→ Can I use milk chocolate instead of dark chocolate?
Absolutely! Milk chocolate will give a sweeter flavor, perfect for those who prefer less bitterness.
→ How do I store these peanut butter cups?
Store them in an airtight container in the refrigerator for up to two weeks.
→ Can I substitute the maple syrup with another sweetener?
Yes, honey or agave syrup can be used as alternatives, but they may alter the flavor slightly.
→ Is it necessary to use powdered sugar?
While it helps to thicken the filling, you can omit it or use a sugar alternative if you prefer a healthier option.
Homemade Peanut Butter Cups with Maple Filling
Created by: Elowen Carter
Recipe Type: Simple Baking Recipes
Skill Level: Intermediate
Final Quantity: 12 cups
What You'll Need
For the Cups
- 1 cup dark chocolate chips
- 1/2 cup creamy peanut butter
- 1/4 cup maple syrup
- 1/4 cup powdered sugar
- 1/2 teaspoon vanilla extract
How-To Steps
In a microwave-safe bowl, melt the dark chocolate chips in 30-second intervals, stirring in between until smooth.
Line a muffin tin with paper liners. Pour about 1 tablespoon of melted chocolate into each liner and spread it across the bottom and slightly up the sides.
In a mixing bowl, combine peanut butter, maple syrup, powdered sugar, and vanilla extract. Mix until smooth.
Spoon about 1 tablespoon of the peanut butter mixture into the center of each chocolate-lined cup, then top with remaining melted chocolate to cover completely.
Place the muffin tin in the freezer for about 20 minutes or until the chocolate is fully set. Once set, remove from the liners.
Extra Tips
- For a twist, you can experiment by adding a pinch of sea salt on top before chilling them or using white chocolate for the coating.
Nutritional Breakdown (Per Serving)
- Calories: 200 kcal
- Total Fat: 12g
- Saturated Fat: 4g
- Cholesterol: 0mg
- Sodium: 50mg
- Total Carbohydrates: 22g
- Dietary Fiber: 2g
- Sugars: 15g
- Protein: 4g